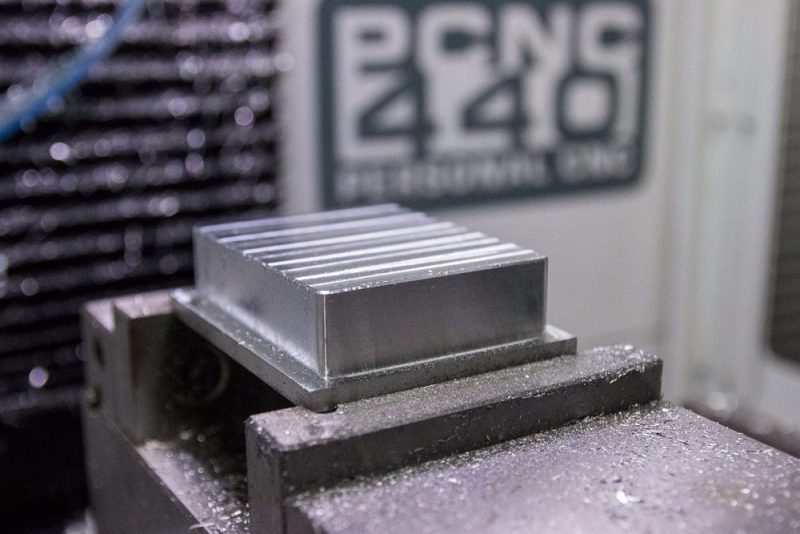
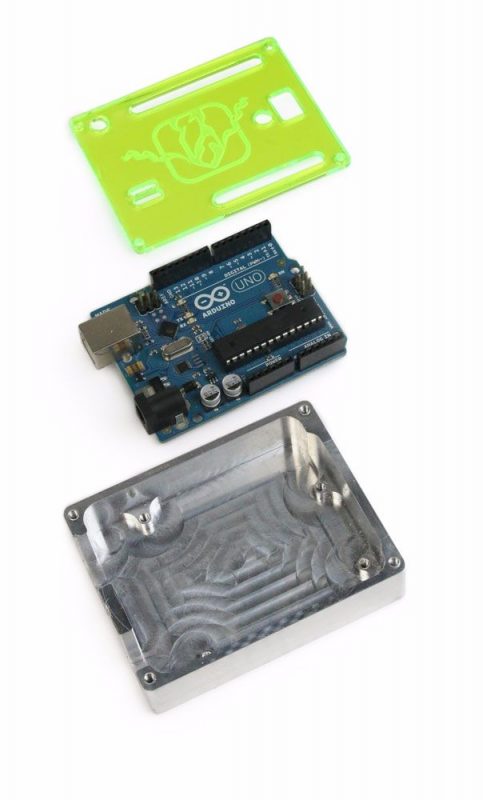
Arduino Enclosure
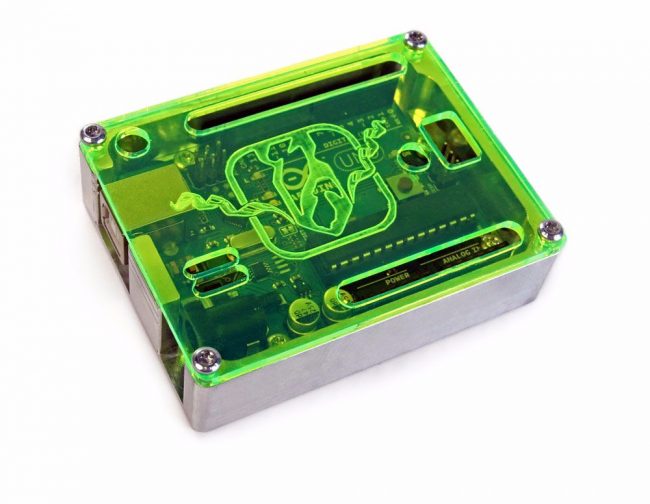
In this project, we’re going to create an aluminum enclosure for an Arduino. This project will walk you through a setup with multiple operations and the flipping of a part.
BILL OF MATERIALS
- 1in. x 3.5 in. x 2.75 in. aluminum stock
- Small acrylic sheet – if you want to create the enclosure cover
- Self-tapping screws
Tools
- 3/8 in. 3 Flute CrN Coated Carbide End Mill
- 1/4 in. Carbide Drill Mill
- #39 HSS Screw machine Drill
- Tormach Soft Jaws
STEP BY STEP
- This project will require a part flip, which means we’ll have to set up some custom jaws for our vise. First, we’ll cut a set of Tormach Soft Jaws with a small step and a stop. This way we have a repeatable location to push our part against as we flip it. This is also quite helpful if you are planning on doing multiples of the same part.
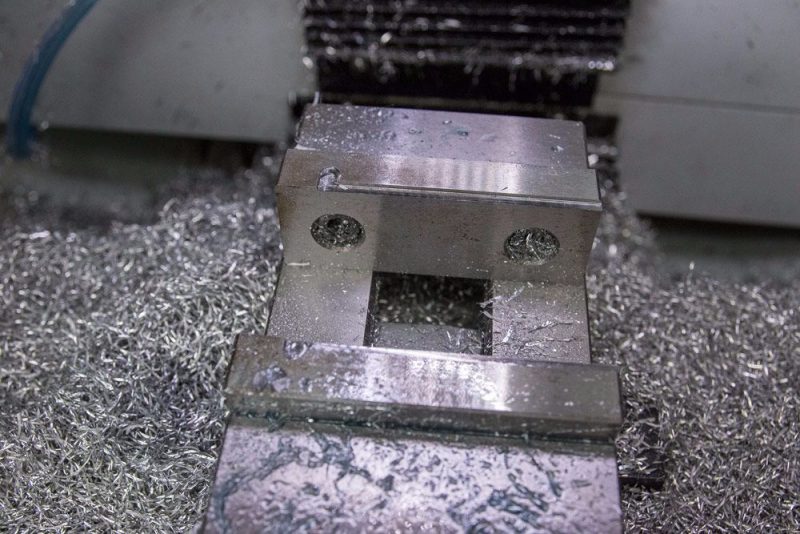
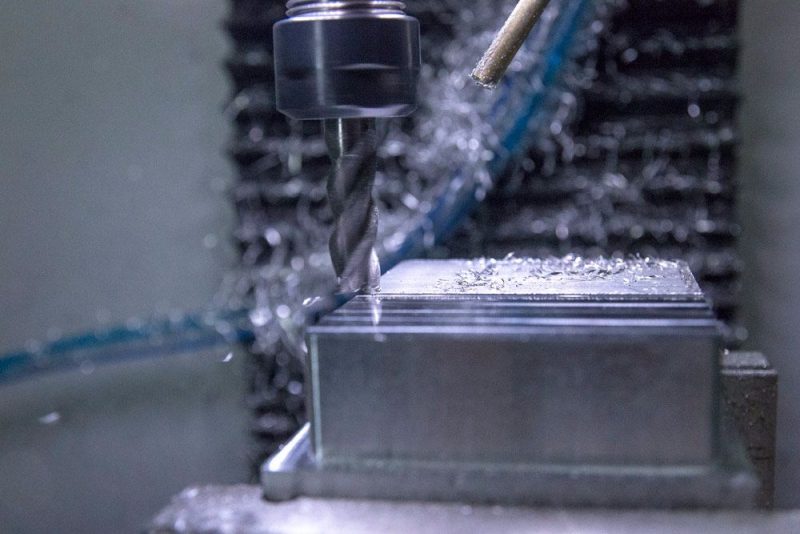
- Once the jaws are cut, we’ll secure our stock in the vise and find the zero on the part in X, Y, and Z. With this project, X-Y zero is the back left corner of the part and Z zero is the bottom of the part – or the top of the step that our parts sits on in the vise jaws. When finding the Z zero, be sure to do so on the fixed jaw, not the moveable jaw - on the Tormach vises, the back jaw is the fixed jaw.Make sure PathPilot has the correct work offset for the program (ex. G54).If you are unsure how to set up your work offsets, check out our Getting Started with Work Offsets video for help.
- Measure all of your tools and make sure they are listed in the tool offsets table in PathPilot. If you are unsure how to set up your tool table, check out our Getting Started with Tool Tables video for help.
- Load up the code and the first tool – the 3-flute end mill – and hit ‘Cycle Start.’ Follow the G-code accordingly during stops for tool changes.
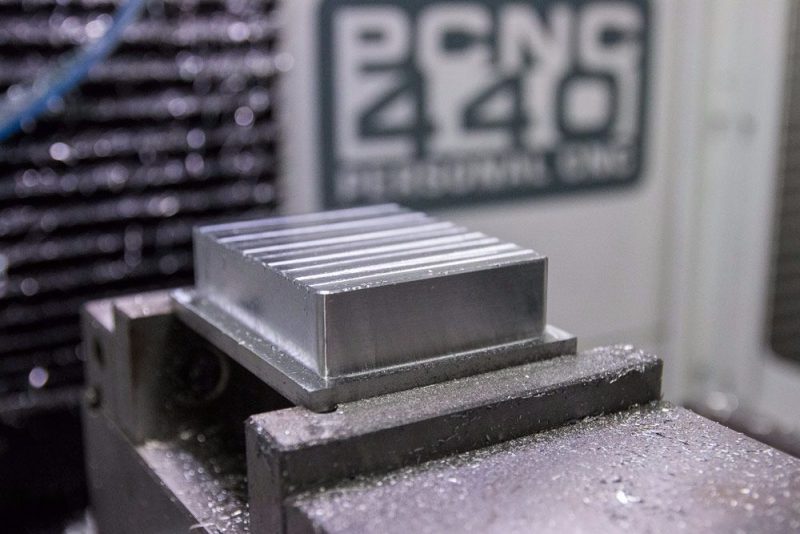
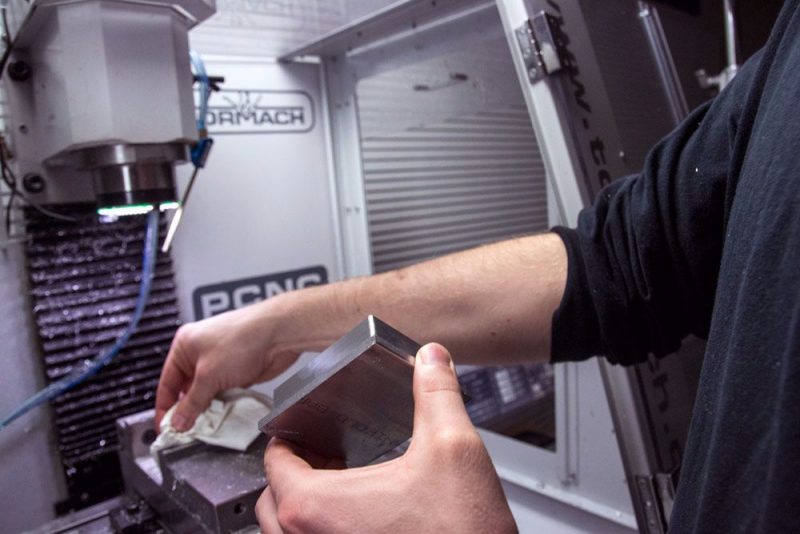
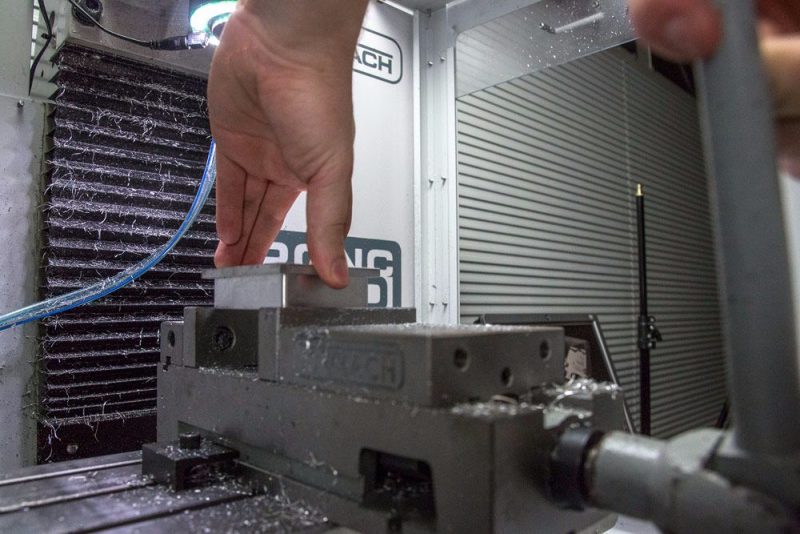
- When the G-code pauses for the part flip, loosen the vise and wipe away any chips that may have accumulated. Flip the part along the Y axis, and place it on the step and firmly against the stop in your jaws. Tighten the vise and hit ‘Cycle Start’ again.
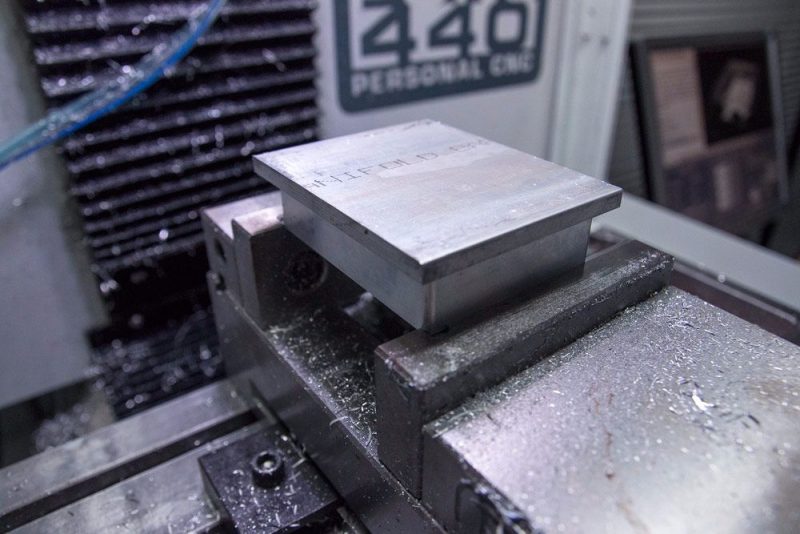
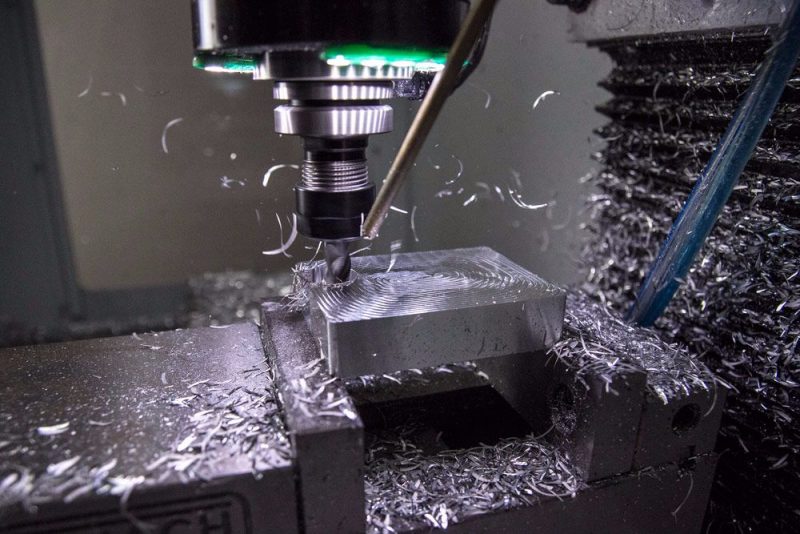
- Again, follow the G-code program for tool changes.
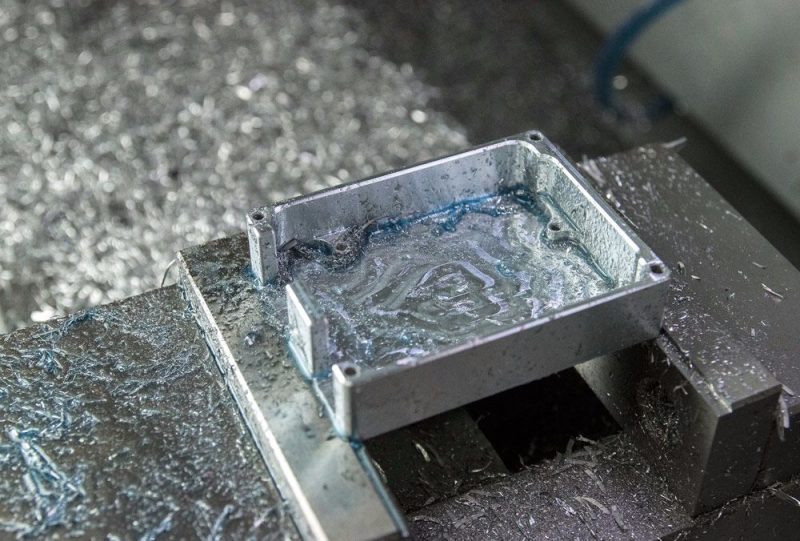
- Once your part is finished, brush it clear of chips and wash it off.
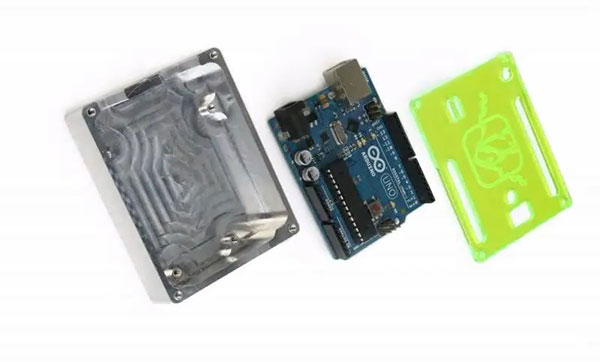
- If you have a laser cutter, you can also cut out an acrylic cover for the enclosure.
- Place the Arduino in the case, and tighten everything down with self-tapping screws.
Arduino Enclosure
In this project, we’re going to create an aluminum enclosure for an Arduino. This project will walk you through a setup with multiple operations and the flipping of a part.
BILL OF MATERIALS
- 1” x 3.5” x 2.75” aluminum stock
- Small acrylic sheet – if you want to create the enclosure cover
- Self-tapping screws
TOOLS
- 3/8” 3 Flute CrN Coated Carbide End Mill
- 1/4” Carbide Drill Mill
- #39 HSS Screw machine Drill
- Tormach Soft Jaws
STEP BY STEP
- This project will require a part flip, which means we’ll have to set up some custom jaws for our vise. First, we’ll cut a set of Tormach Soft Jaws with a small step and a stop. This way we have a repeatable location to push our part against as we flip it. This is also quite helpful if you are planning on doing multiples of the same part.
- Once the jaws are cut, we’ll secure our stock in the vise and find the zero on the part in X, Y, and Z. With this project, X-Y zero is the back left corner of the part and Z zero is the bottom of the part – or the top of the step that our parts sits on in the vise jaws. When finding the Z zero, be sure to do so on the fixed jaw, not the moveable jaw - on the Tormach vises, the back jaw is the fixed jaw.Make sure PathPilot has the correct work offset for the program (ex. G54).If you are unsure how to set up your work offsets, check out our Getting Started with Work Offsets video for help.
- Measure all of your tools and make sure they are listed in the tool offsets table in PathPilot. If you are unsure how to set up your tool table, check out our Getting Started with Tool Tables video for help.
- Load up the code and the first tool – the 3-flute end mill – and hit ‘Cycle Start.’ Follow the G-code accordingly during stops for tool changes.
- When the G-code pauses for the part flip, loosen the vise and wipe away any chips that may have accumulated. Flip the part along the Y axis, and place it on the step and firmly against the stop in your jaws. Tighten the vise and hit ‘Cycle Start’ again.
- Again, follow the G-code program for tool changes.
- Once your part is finished, brush it clear of chips and wash it off.
- If you have a laser cutter, you can also cut out an acrylic cover for the enclosure.
- Place the Arduino in the case, and tighten everything down with self-tapping screws.