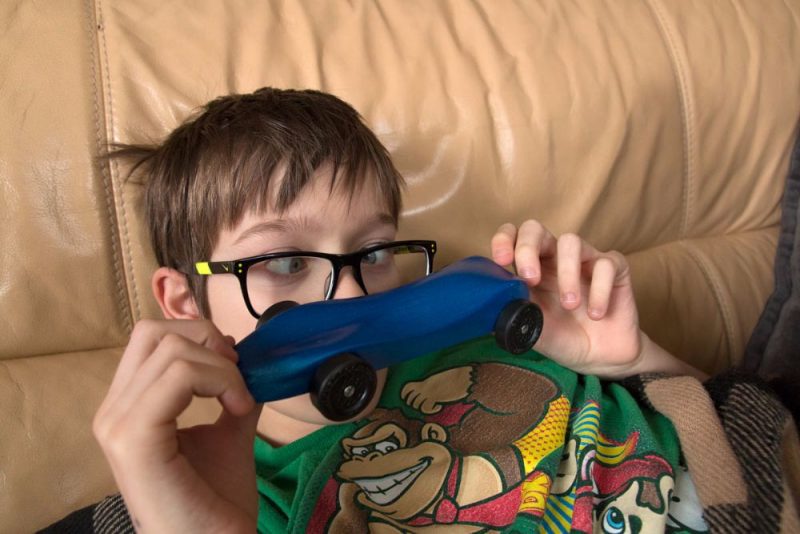
Precision Milled Pinewood Derby Car
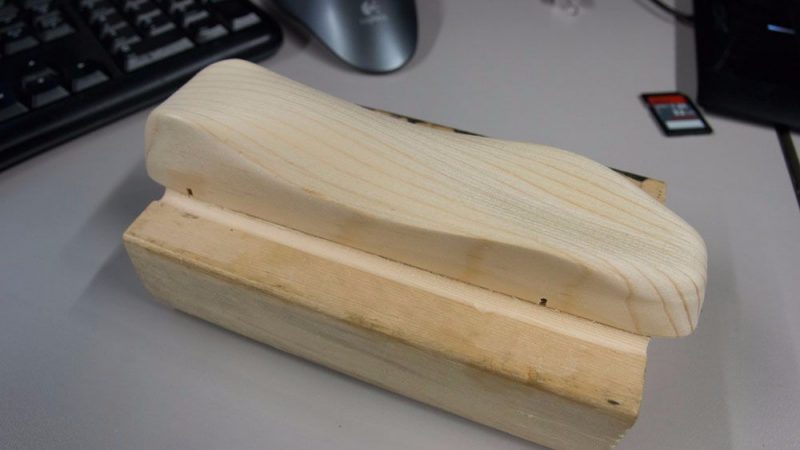
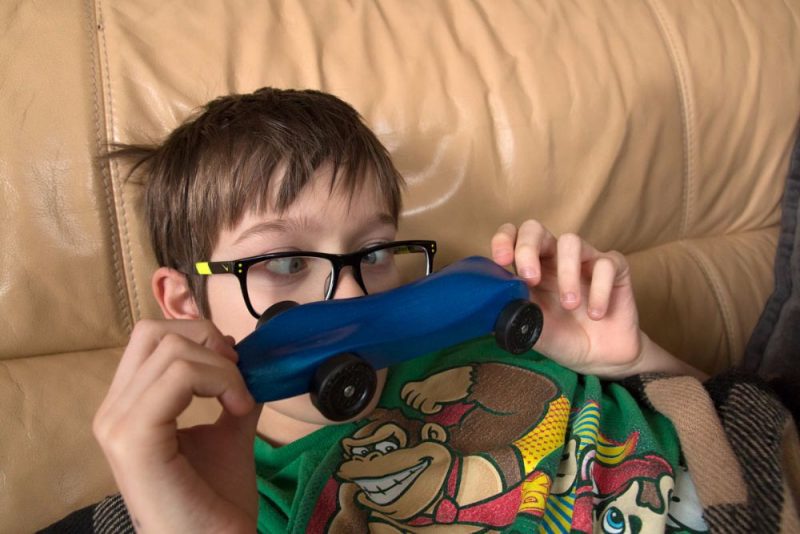
Every year, Boy Scouts organizations host a Pinewood Derby - where the Scouts get to race against one another using cars they construct out of a block of pine. This project focuses on taking a Pinwood Derby car to the next level by precision milling it with a Tormach PCNC mill.
STEP BY STEP
- Model the Pinewood Derby CarAs a new user to Fusion 360, my first attempt to model and CAM up a pinewood derby car wasn’t bad, but somewhere along the way I did something wrong and the G-code didn’t output correctly. Thanks to a Pinewood Derby tutorial by Patrick Rainsberry I was able get things set up properly.
- The final output in the tutorial was on a different machine, so I had to make a few changes to get the file to work on the Tormach.
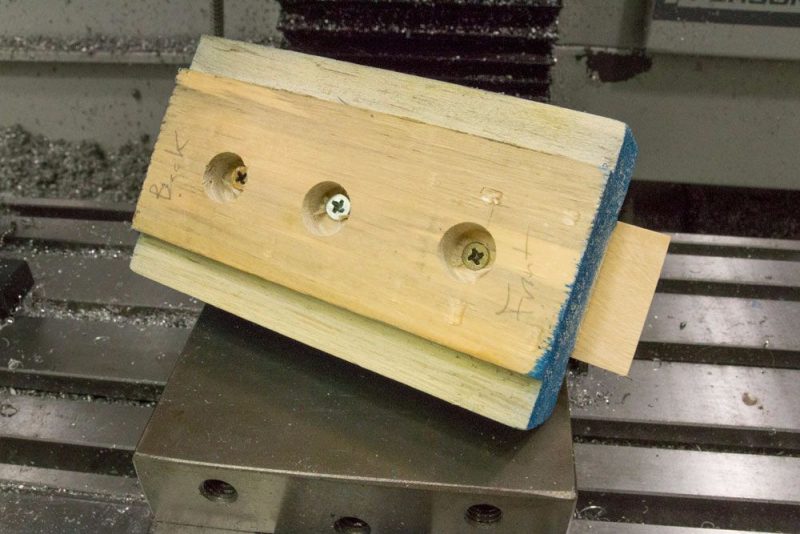
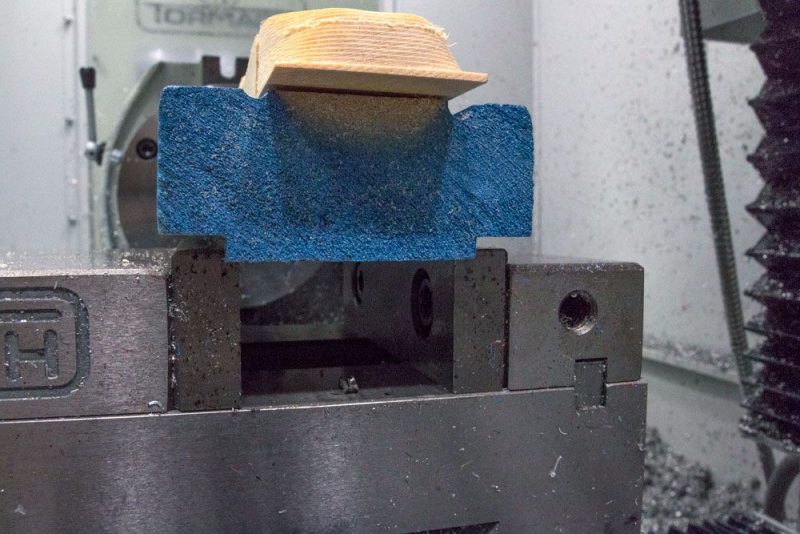
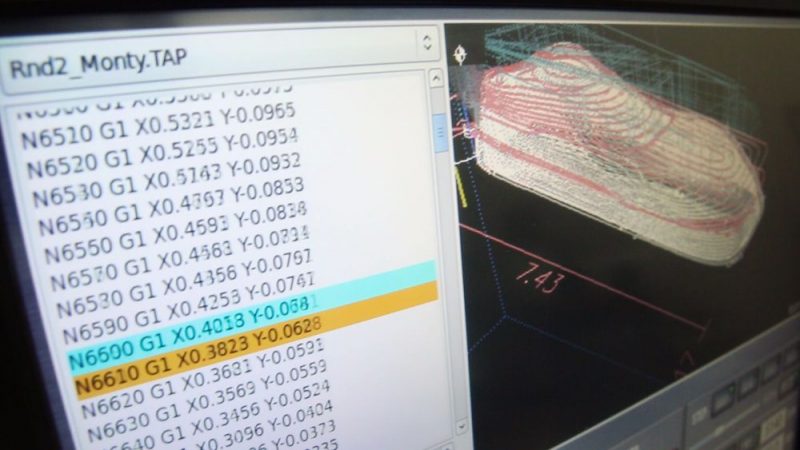
- Find a Secure Workholding MethodTo hold the car, I scribed the edge of a piece of pine so there was a straight line to align the official Pinewood Derby Car stock. You could use a marker, but it would have to be quite straight. Measure twice cut once. Then, secure the pinewood block to a workholding block with several screws, being careful to keep them out of the cutting envelope.3.Cutting the CarOnce the the stock is secured to the workholding, we secure the workholding block into a machinist's vise. Load the G-code, or TAP file into the PathPilot controller and find your zeroes with a Haimer or another edgefinder tool - the X, Y zero on this project is at the back left corner of the stock and the Z zero is on top of the stock.
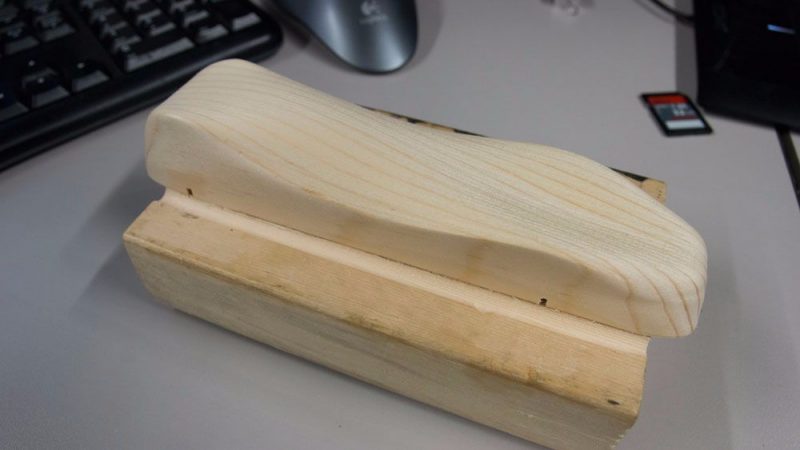
- Once cut, sand it down, paint it, and add weights to reach regulation standards according to the directions on the Pinewood Derby box.
- Race Day: Once your Pinewood Derby Car is weighed in according to the organization's standards, you're ready to set in action and show off all the fine-tuned, CNC-created aerodynamics.
Precision Milled Pinewood Derby Car
Every year, Boy Scouts organizations host a Pinewood Derby - where the Scouts get to race against one another using cars they construct out of a block of pine. This project focuses on taking a Pinwood Derby car to the next level by precision milling it with a Tormach PCNC mill.
STEP BY STEP
- Model the Pinewood Derby CarAs a new user to Fusion 360, my first attempt to model and CAM up a pinewood derby car wasn’t bad, but somewhere along the way I did something wrong and the G-code didn’t output correctly. Thanks to a Pinewood Derby tutorial by Patrick Rainsberry I was able get things set up properly.
- The final output in the tutorial was on a different machine, so I had to make a few changes to get the file to work on the Tormach.
- Find a Secure Workholding MethodTo hold the car, I scribed the edge of a piece of pine so there was a straight line to align the official Pinewood Derby Car stock. You could use a marker, but it would have to be quite straight. Measure twice cut once. Then, secure the pinewood block to a workholding block with several screws, being careful to keep them out of the cutting envelope.3.Cutting the CarOnce the the stock is secured to the workholding, we secure the workholding block into a machinist's vise. Load the G-code, or TAP file into the PathPilot controller and find your zeroes with a Haimer or another edgefinder tool - the X, Y zero on this project is at the back left corner of the stock and the Z zero is on top of the stock.
- Once cut, sand it down, paint it, and add weights to reach regulation standards according to the directions on the Pinewood Derby box.
- Race Day: Once your Pinewood Derby Car is weighed in according to the organization's standards, you're ready to set in action and show off all the fine-tuned, CNC-created aerodynamics.